Why Use a Serial Console?
Using a serial console, as documented for Proxmox VE (a qemu/kvm virtualization tool), allows direct connection to your running VMs. It's an efficient alternative to VNC, providing solutions for capturing detailed messages during system failures which might be impossible on a VNC screen.
Here’s a practical example:
qm status 101
# Output: status: running
qm terminal 101
# Output: starting serial terminal on interface serial0 (press control-O to exit)
Setting Up Serial Console Access in Fedora
Configuration on the Host Node
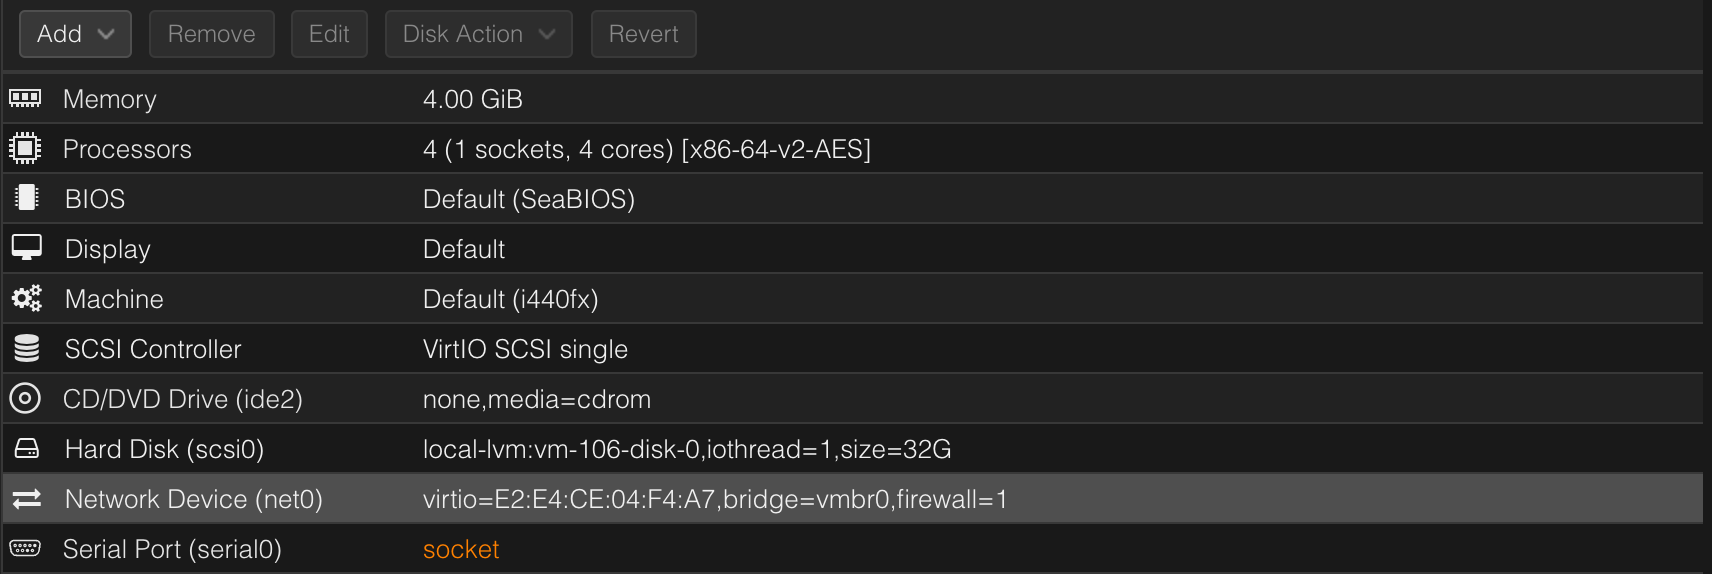
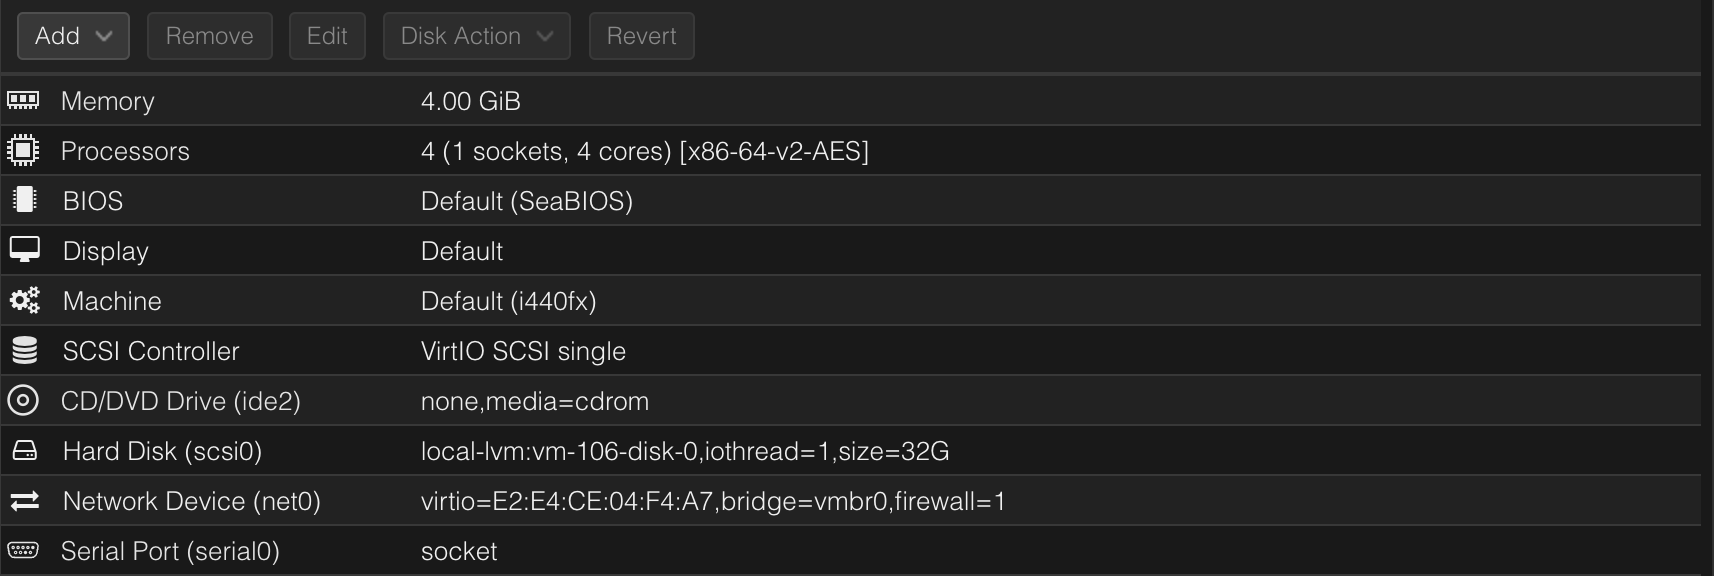
- Add a Virtual Serial Port to the VM: For VM ID 101, open the node's Shell.
- Edit VM Configuration:
- Open
/etc/pve/qemu-server/101.conf, addserial0: socketat the end of the file. - Alternatively, use
qm set 101 -serial0 socket.
- Open
- Reboot the VM: Ensure the serial port option in the VM's hardware settings is correctly saved.
Unsaved Serial Port Setting
Saved Serial Port Setting
Configuring GRUB and Linux Boot Parameters in the Fedora VM/Guest
In your Fedora VM, open terminal:
- Backup GRUB Configuration first:
cp -nv /etc/default/grub /etc/default/grub.bak - Edit GRUB Configuration:
- Open
/etc/default/grubusingvi /etc/default/grub. - Find the
GRUB_TERMINAL_OUTPUTline and modify it toGRUB_TERMINAL_OUTPUT="console serial". - Find the
GRUB_CMDLINE_LINUXline and update it toGRUB_CMDLINE_LINUX="quiet console=tty1 console=ttyS0,115200"
- Open
- Update GRUB:
grub2-mkconfig --output=/boot/grub2/grub.cfg
Once all done, reboot the VM.
Validate Serial Port
After completing the above steps, it's crucial to validate that the serial port is functioning correctly:
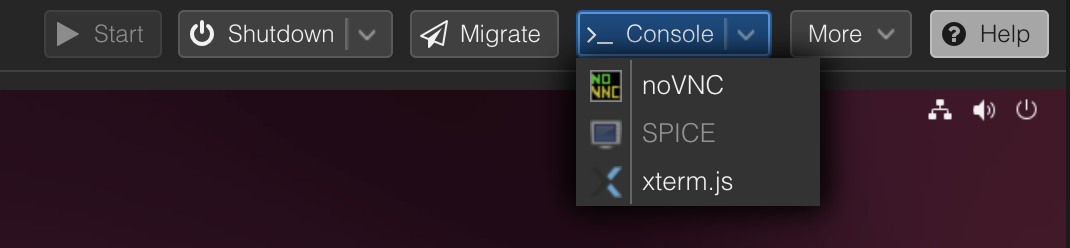
- Go to the node's Shell, try
qm terminal 101(assuming VM Id is 101). You should get outputstarting serial terminal on interface serial0 - Go to the VM's Console tab, on the top right toolbar, click on the Console dropdown, and ensure that the xterm.js option is enabled as below
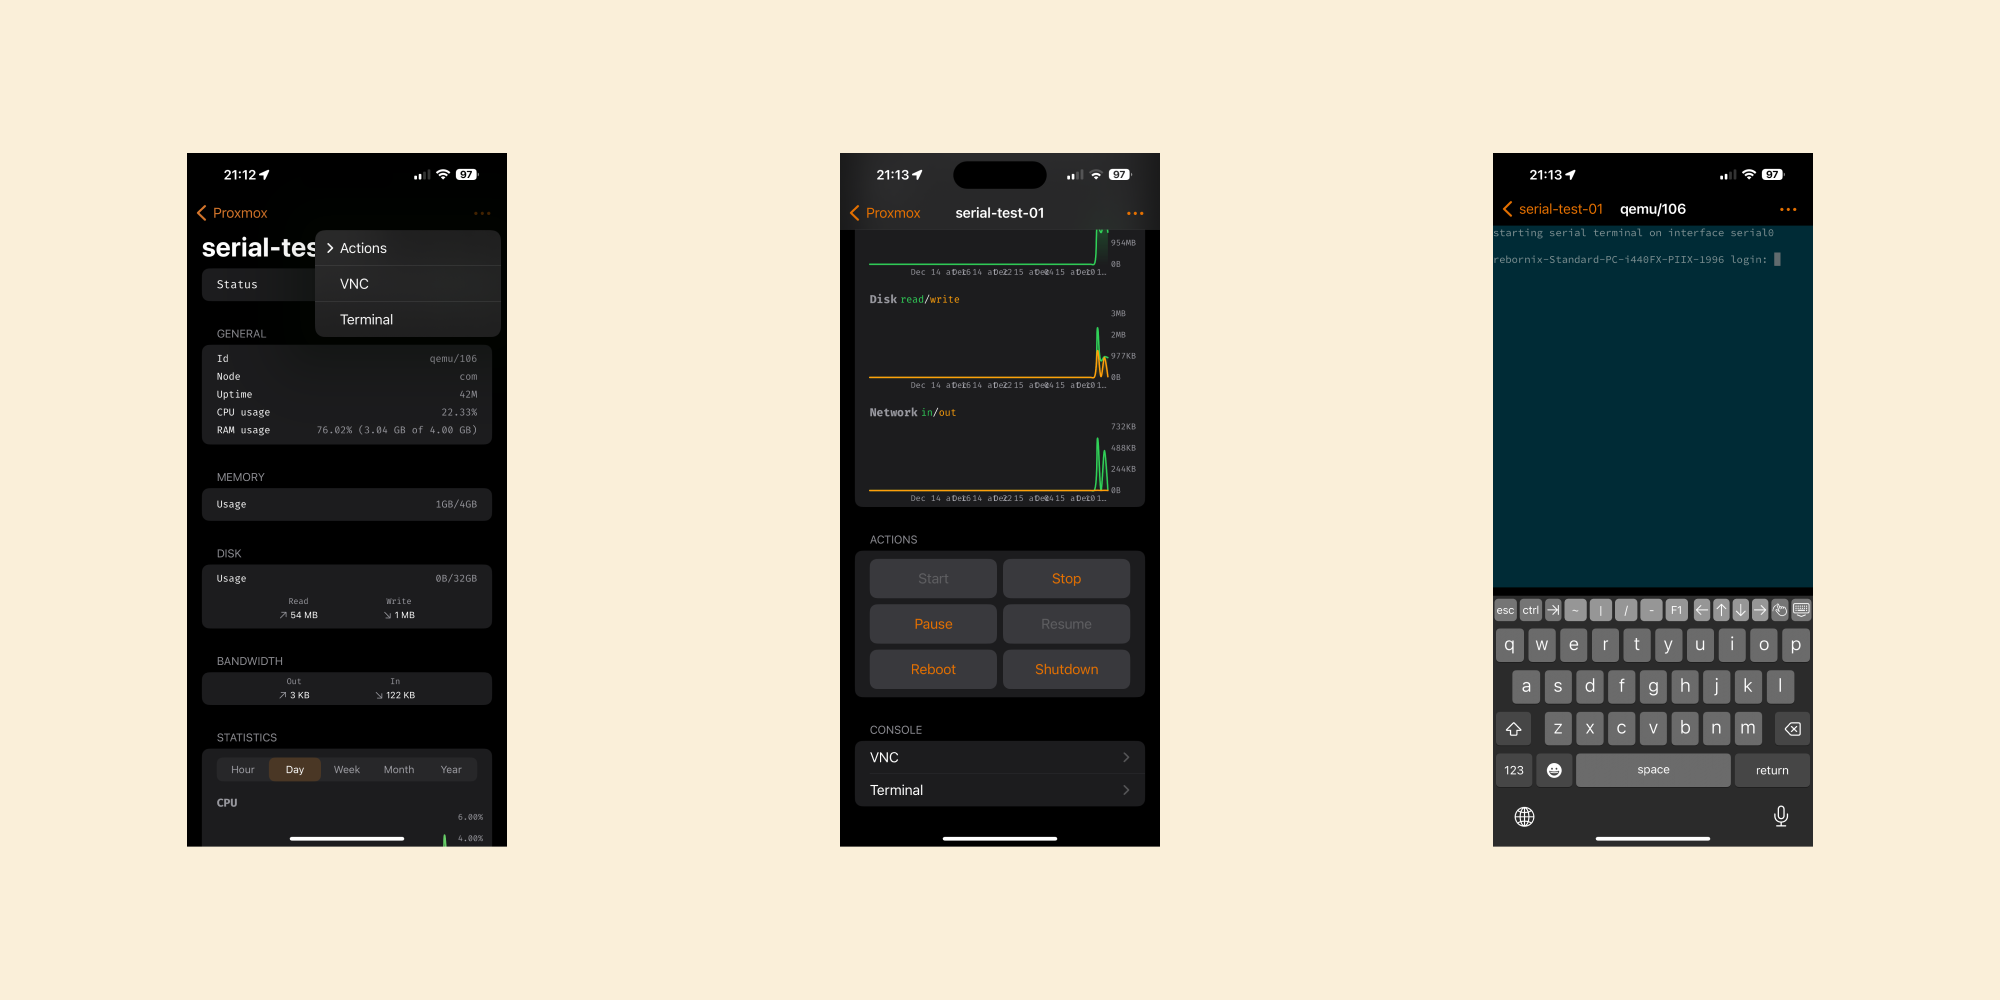
Connecting to the VM via ProxMobo Terminal
ProxMobo simplifies the process of connecting to your VM via a serial console in your phone. Here's how you can do it:
- Open ProxMobo: Navigate to your VM.
- Access Serial Console: Open the Terminal either from the
...menu, or from the CONSOLE section at the bottom of the VM view